Device clean-up in Azure AD & Intune
It is been a while since I have written a blog post and it was still in the drafts, so it is time to finish it.
Some time ago, I was asked if there was a method to automatically clean-up Azure Active Directory from idle devices that had not have been online for several days.
I know that in Intune you have an option to automatically remove idle devices from Intune after a few days. But for Azure Active Directory, this option is not there.
In this blog post, I will cover both and explain step by step what you need to do to set this up.
Microsoft Intune
This is the easiest way to set up.
- Go to the Intune portal
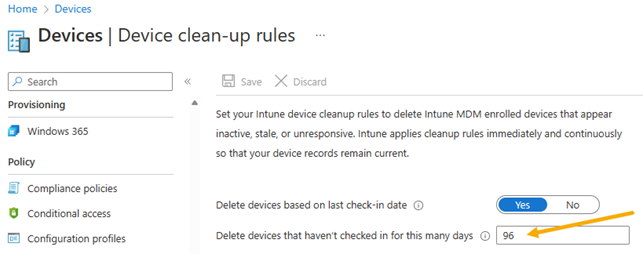
- Go to Devices -> Device clean-up rules
- Toggle the switch to Yes
- And enter a number of days. In my example 96
In the below screenshot, you'll see my setting. All inactive devices will be removed from Intune after 96 days.
Azure Active Directory
So easy that it went in Intune, this becomes a lot more difficult. We need to be not only in Azure AD, but we also need an Azure Runbook, Azure Automation account and an Azure Managed Identity.
But of course we do have some wishes that the automatic cleaning must meet, namely:
- After being inactive for 96 days, the device is disabled.
- After 126 days, the inactive device is removed. (96 days + 30 days)
- An output must be generated after a run.
With the above in mind, I started looking for a solution and I came across Jos Lieben's solution. However, his blog post is concise and with his approval, I write it out again here completely step by step.

Resource group
Obviously, a resource group in an Azure subscription is necessary to create the above resources.
In my example, I'm using the cat-rg-euw-prd-automation resource group.
Automation Account
First step is to create an Automation Account in Azure.
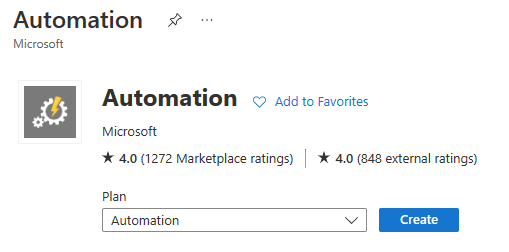
- In the Azure portal go to + Create a resource
- Search for Automation account and click on Create
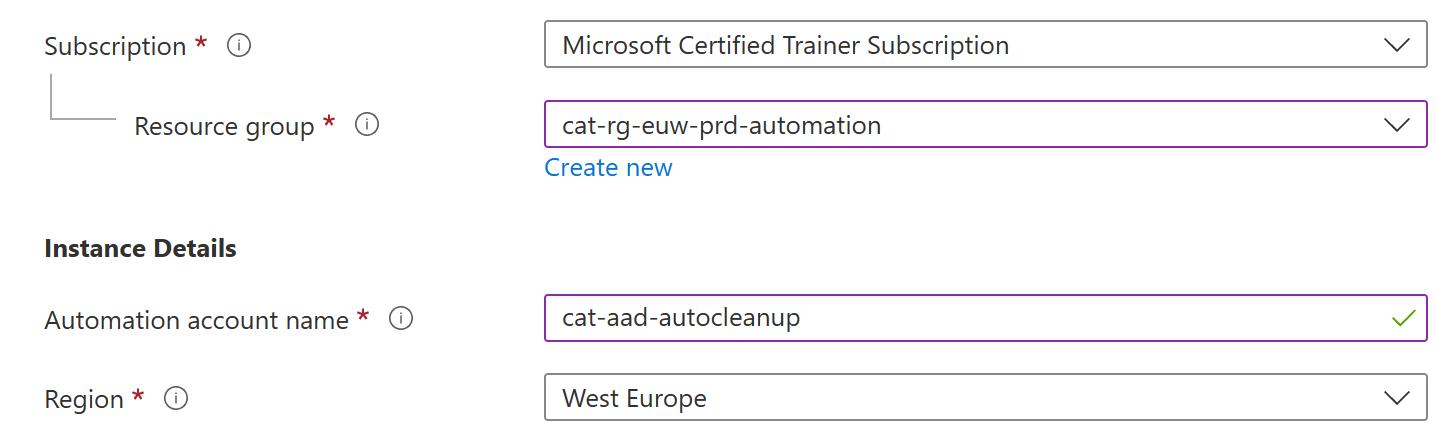
- Select the correct Azure subscription
- Select the correct resource group
- In the Automation account name field, type a name
- Select the correct region and click on Next
- At the Advanced tab, select System Assigned
- At the other tabs, select the right options according to your environment
Managed Identity
While creating an Automation Account, a System Managed Identity must be selected, see step 11. A Managed Identity is an Enterprise Application that is created during the Automation Account deployment. This MI must then be given the following Graph API permissions:
Device.ReadWrite.All
or
Device.Read.All
Depending on the Graph permissions, as mentioned above, this Managed Identity can only read the devices (Device.Read.All) and if devices also need to be deleted, it must be given the Device.ReadWrite.All permissions.
These permissions can be set using a Powershell script. See the Jos Lieben's GitLab for the script to set this.

We have also the requirement to email the output, after the run, to someone, so we need the Mail.Send permissions on this Managed Identity.

✋ We are not there. Yet. This Managed Identity needs the Cloud Device Administrator role as well.

Azure Runbook
A Runbook is necessary to run the PowerShell script at specified times, without administrator intervention.
This runbook contains the PowerShell script, as listed at Jos Lieben's GitLab. In the runbook, you can also set the schedule how often this script should run.
To create a Runbook, follow the steps below:
- In the newly created Automation account, go to Runbooks
- You can remove the two examples if you want
- Click on + Create a runbook
- Give the runbook a name
- Select PowerShell as the runbook type
- Select 7.1 (preview) as the runtime version
- Click on Create
- Copy the PowerShell script into the Edit PowerShell Runbook blade
It should look like the below screenshot
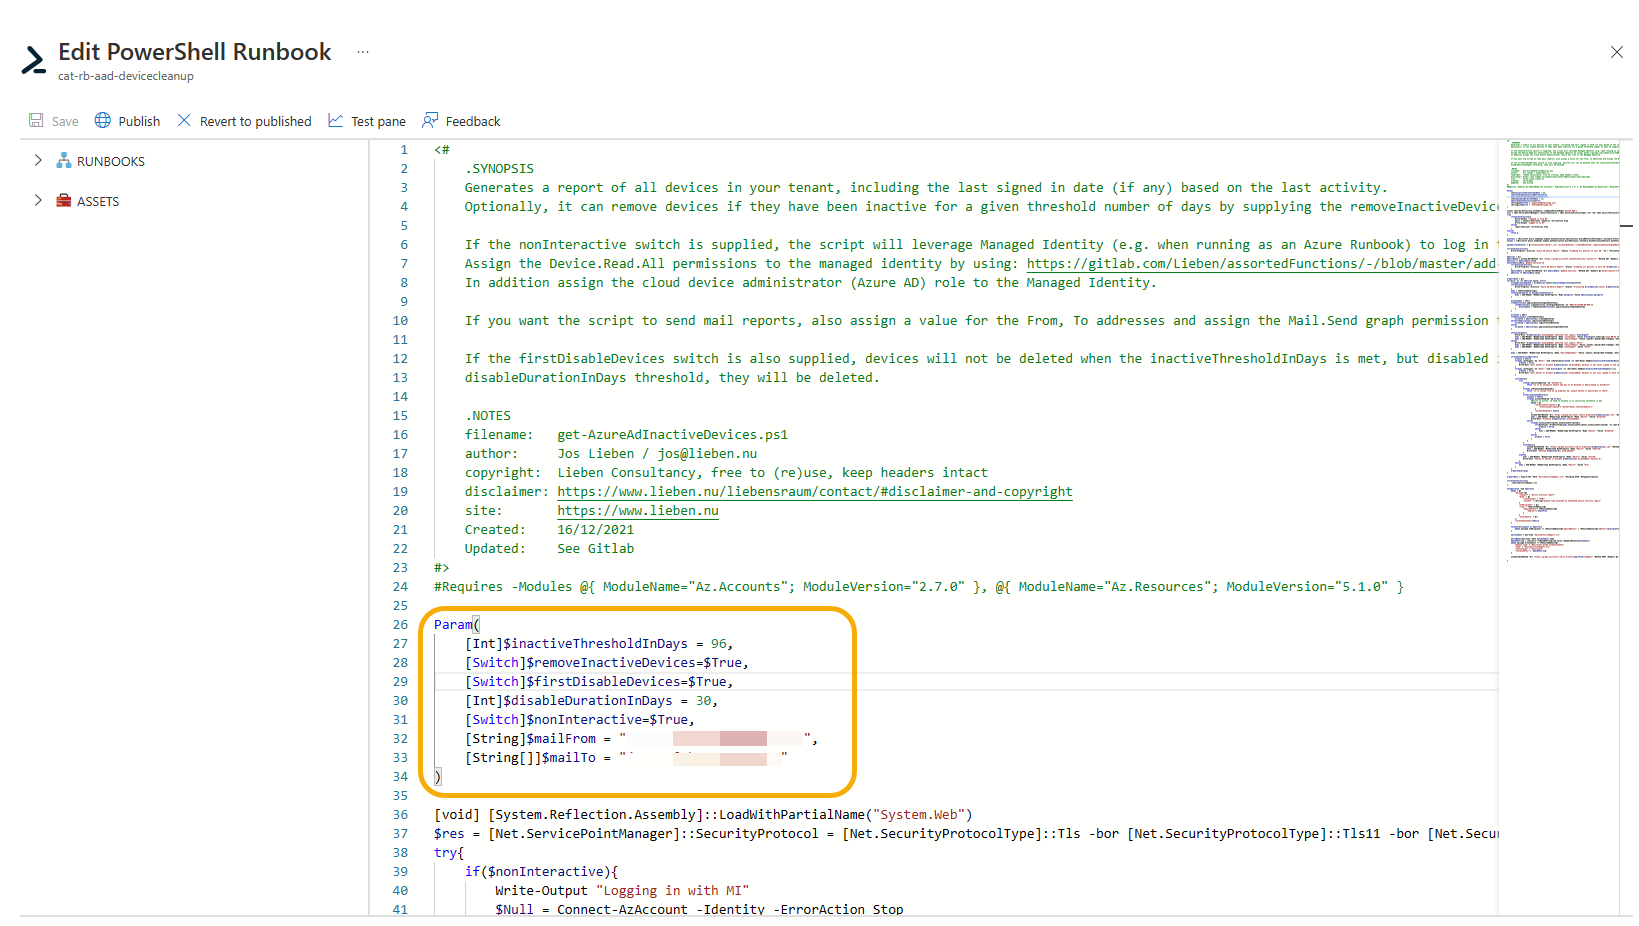
The params in the orange shape, should be customized to your organization's needs. Think about of the number of inactive days of a device and of course if you want to receive an email, you also need to fill in the $mailFrom and the $mailTo fields. For example $mailTo = "user@domain.com".
If you want to run the runbook in nonInteractive mode, see line 31, you need to change this to [Switch]$nonInteractive=$True,. In this case, the runbook will use the MI account.
- Click on Save
- Click on Publish and click on Yes
- If you click on Schedules, you can create a schedule when this script is running. So every week, or every month. It's up to 🫵.
The end result
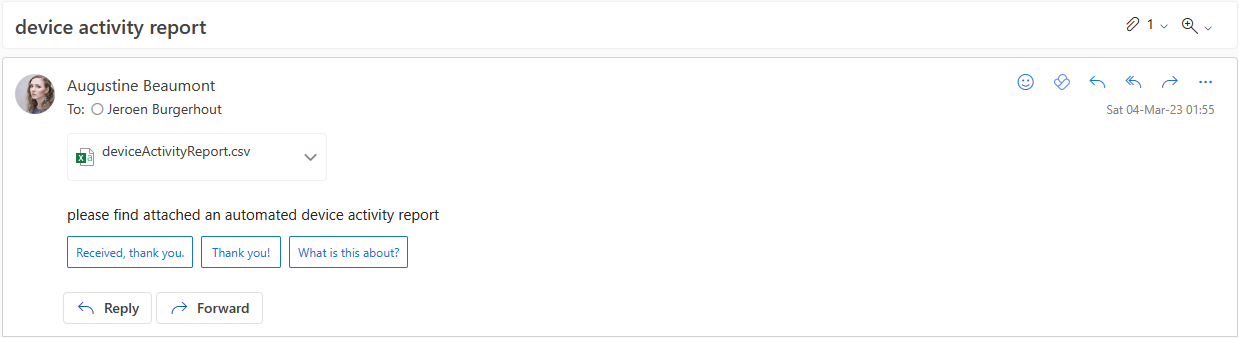
After the script has run and you have set the $mailFrom and the $mailTo fields, then the person listed in the $mailTo will receive an email containing a CSV. This CSV shows you exactly the inactive days of a device and what action was performed on a device. As shown in the screenshot below.

That's it for today.
If you have any questions, drop them below in the comments.
See you next time.