Updating HP BIOS with HP Connect
Updating HP BIOS with HP Connect
Some time ago, I saw a tweet from Nathan Kofahl announcing HP's new tool, called HP Connect for Microsoft Endpoint Manager. At that point, you could sign up for an Private Preview. Since I was interested in that, I had passed on my tenant ID. Early this year, I had a call with Dan Felman (HP). In this call he explained what the possibilities of HP Connect are and how the technology works. Especially after the call, I was very curious how this works.
I'm pretty excited to announce HP's new bios management tool for Microsoft Endpoint Manager is in private preview at https://t.co/AuoUEKtoYt If anyone wants to try email me twitter handle at https://t.co/lDMPbwsgrk. I'll need your tenant ID @modaly_it @NickolajA @jarwidmark
— Nathan Kofahl (@nkofahl) November 17, 2021
In Short
HP Connect for MEM is a cloud-based tool that makes managing UEFI BIOS on supported HP computers a breeze. HP Connect compiles IT administrators' policy packages and makes them available for deployment in Microsoft's Endpoint Manager (MEM) Intune. HP Connect policies are linked to a company's Microsoft Azure AD subscription.
HP Connect for MEM provides the basis for implementing BIOS management policies that can be published to Microsoft Endpoint Manager HP device groups, starting with a safe and protected HP cloud environment. Endpoint Manager executes the policies as part of its usual compliance processes, while HP Connect creates them. Each device does not require any software to be downloaded or installed.
At introduction, HP Connect for Microsoft Endpoint Manager supports these BIOS management features:
- BIOS Updates
- Always up to date, Critical versions only, or specific versions
- BIOS Settings
- Supported on a per platform basis
- BIOS Authentication
- Support for HP Sure Admin certificates and passwords
Requirements
Since HP Connect is a cloud solution, you will need:
- Azure Active Directory
- Microsoft Endpoint Management (Intune)
- Internetbrowser
- Global Administrator account to register Enterprise Applications
- Intune Administrator account to create, make changes, etc in HP Connect
HP Connect requires a valid Microsoft Azure AD subscription and Intune as the registered MDM (Mobile Device Management). HP Connect interfaces directly with a customer's Azure Active Directory (AAD) tenant for access to device groups and publishing BIOS policies as a cloud application.
MEM publishes and enforces policies defined by HP Connect. HP Connect uses the Microsoft Graph API to communicate with Endpoint Manager. In the Azure tenant of an organization, no additional storage is currently required.
Under the hood
An HP Connect compliance policy is created and published to Intune once a BIOS policy is created and applied to one or more Azure AD device groups. If an HP Connect policy was previously applied to a device group, the new policy will be added to it and the version number will be increased.
Select Reports -> Endpoint Analytics -> Proactive Remediation from the Intune console to see the compliance policy. You can recognize the HP Connect policies with the prefix "HPConnectforMEM –".
Supported HP Devices
Furthermore, I was told that this tool only supports HP devices that have been delivered from 2018. I have a HP EliteBook 850 G8 as a test device, and luckily for me, it is supported. 😉
Onboarding HP Connect
Okay, it is time to switch to the HP Connect for Microsoft Endpoint Manager now. In the following steps, I will show you how to onboard HP Connect into your Azure AD/Intune tenant.
HP Connect for MEM requires the acceptance of certain rights to interface with Microsoft Azure AD and Endpoint Manager. Permissions are required, among other things, to search for and obtain device groups, as well as to publish policies.
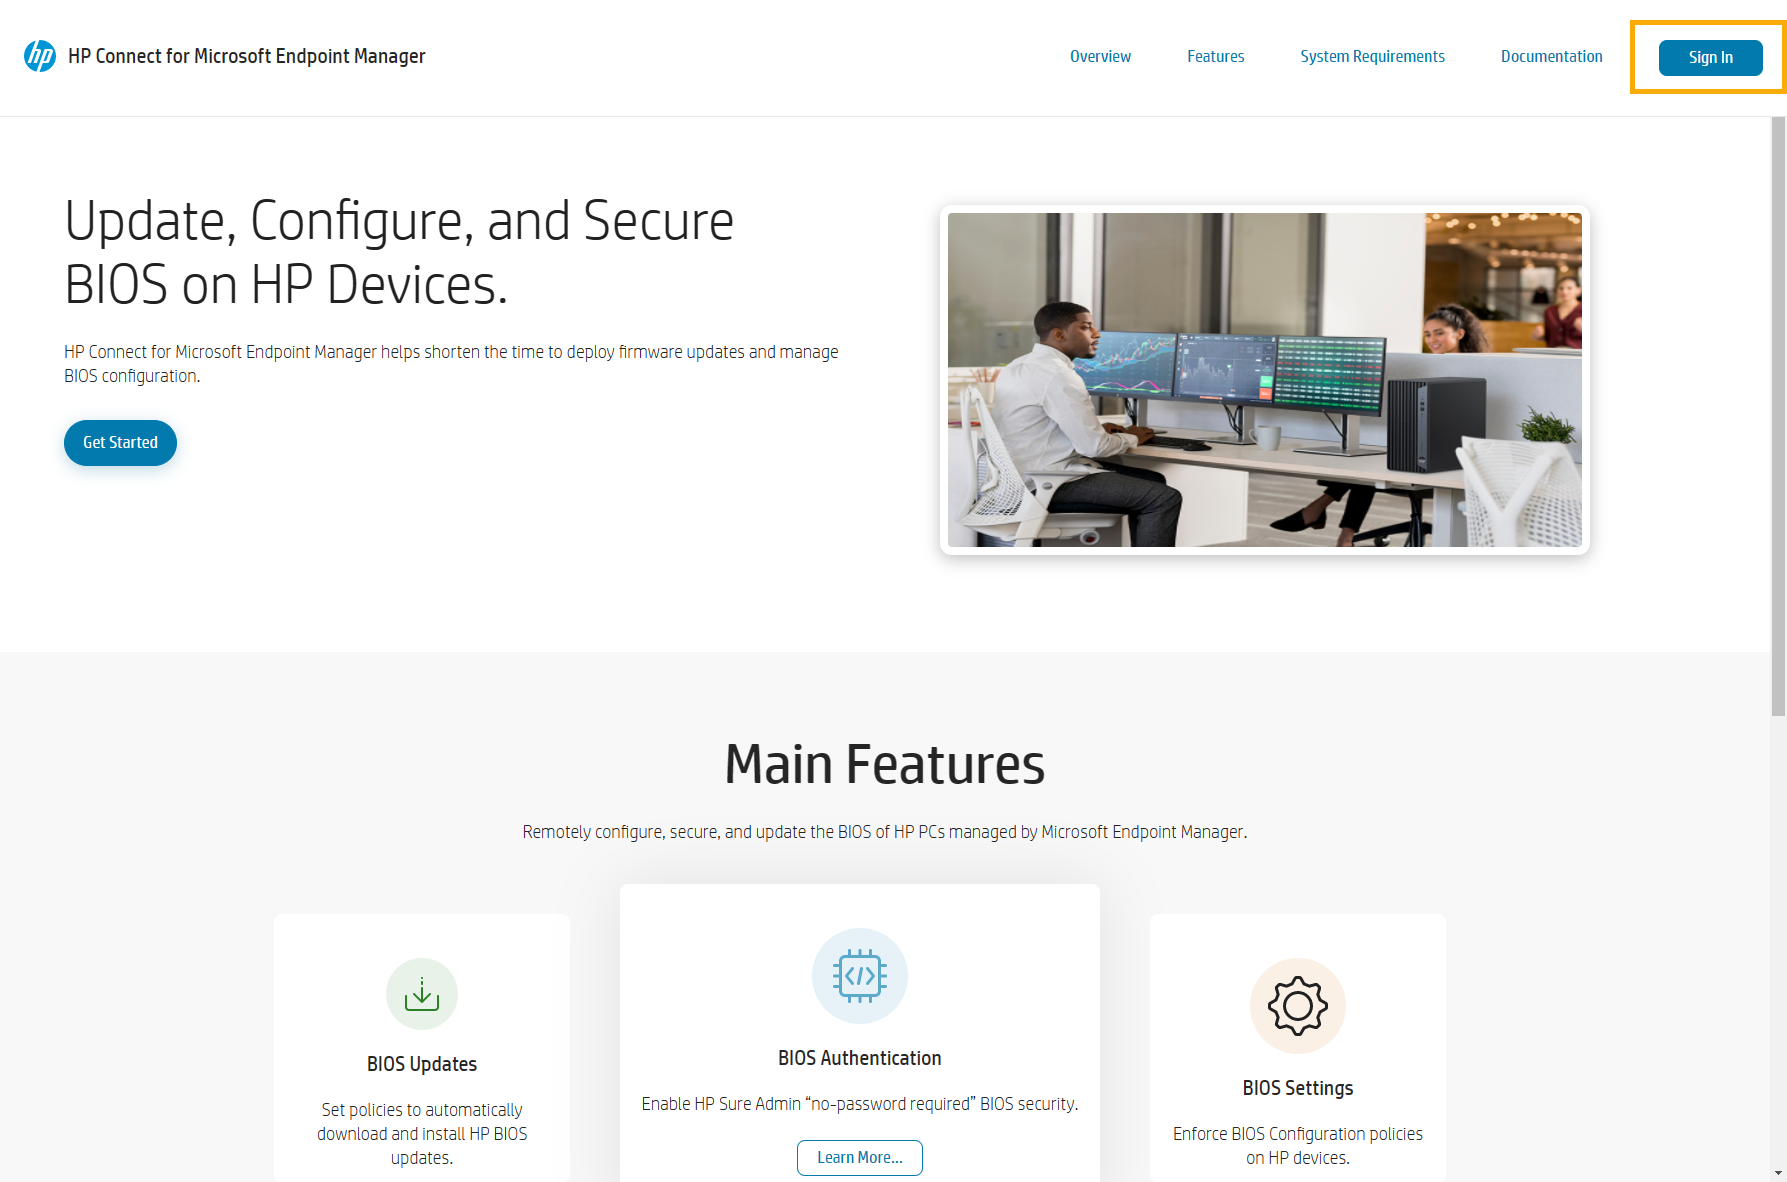
- Go to https://admin.hp.com and click on Sign In in the top right corner.
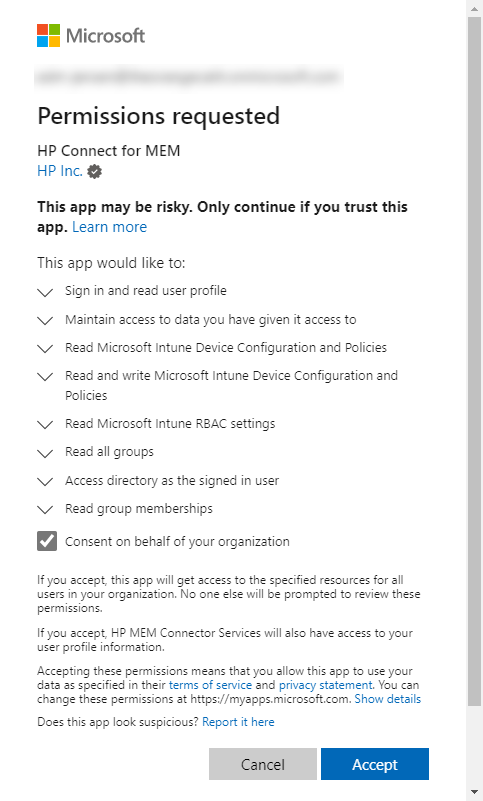
- In the Permissions requested windows, sign in with you Global Administrator account and checkmark the Consent on behalf of your organization option.
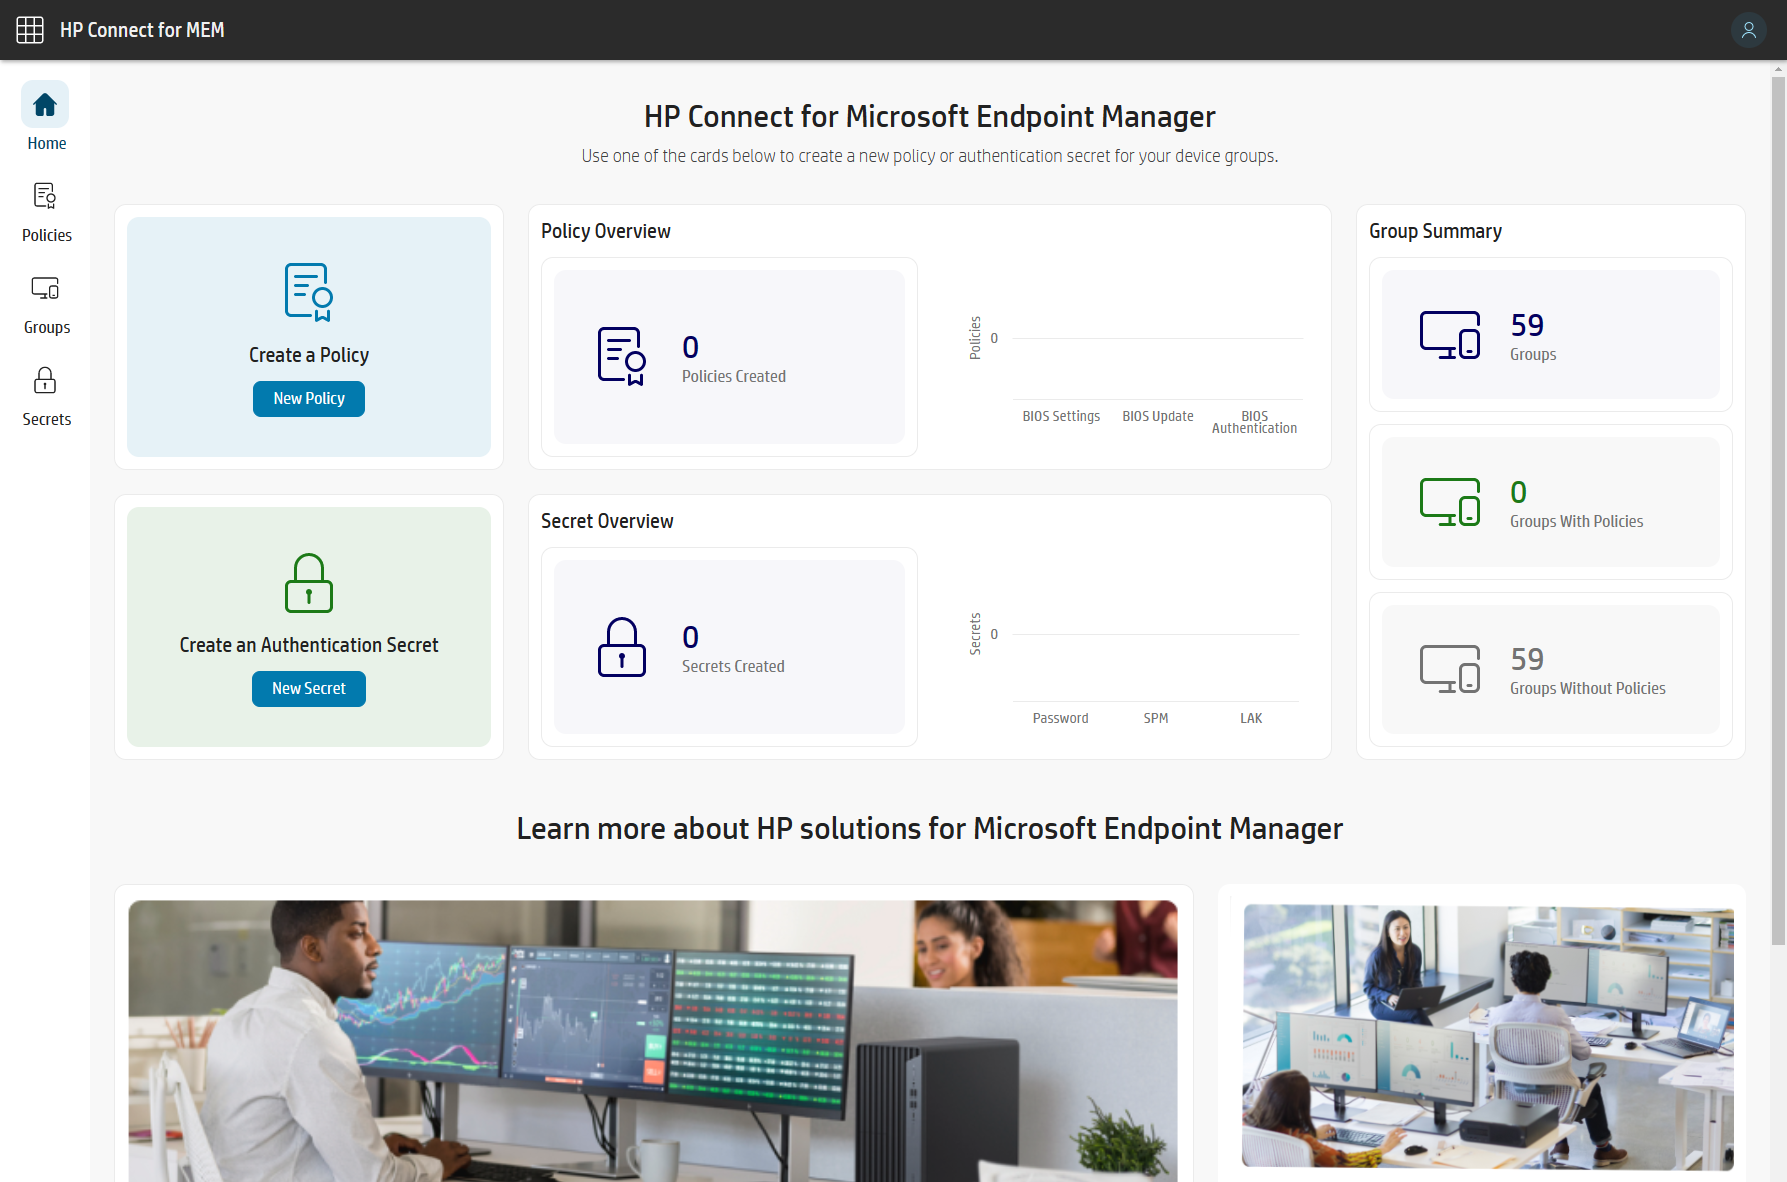
- You are now seeing the HP Connect dashboard.
Sidebar Menu
When you log into HP Connect, you will see a dashboard with useful information. Policies, groups, and extra authentication secrets can all be accessed through a sidebar menu.
Home Tab
The home dashboard page appears when you log in. The dashboard will be re-displayed if you click the home tab during a session. Policies may be generated from the dashboard by selecting New Policy, and authentication secrets can be added by selecting New Secret. Authentication secrets can be used to set BIOS passwords and define a policy to deploy HP Sure Admin BIOS protection (a secure authentication system based on certificates).
In addition, the dashboard on the home page displays an overview of the Policies and Secrets that have been published, as well as their status. The Azure Active Directory Groups, as well as groups with HP Connect policies applied to them, are displayed in a Group Summary bar. Discovery information about HP Connect and other HP endpoint management solutions may be found at the bottom of the home screen.
Policies Tab
The Policies tab exposes the policies that have been created. If a policy is not currently in use (for example, if it's applied to a device group in Endpoint Manager), it can be modified by selecting it from the list.
From this menu, you may create a new policy. By choosing Add or Remove Groups after a policy has been generated, it can be published to or deleted from device groups. The existing policy will be affected if a group is added or withdrawn, and the policy is re-applied to Endpoint Manager. Intune will also increase the policy version number displayed.
Once a policy is applied to a group of devices, the policy entry property will show it as In Use and cannot be edited. If you want to edit a policy, you need to remove the corresponding AAD group from the policy.
Groups Tab
The Groups sidebar menu shows a list of Azure Active Directory Groups defined by the organization. The Administrator can use a search feature to rapidly locate specific groups by name. When you select a group name from the list, a sidebar appears with a list of HP Connect policies that have previously been allocated to that group.
Secrets Tab
In HP Connect, BIOS authentication secrets are maintained under the Secrets menu tab. By selecting New Secret, you can add certificates for use by HP Sure Admin or manage BIOS passwords.
HP Connect can use HP Sure Admin cryptography-based access control or passwords to secure BIOS access by policy.
Oké, let's start. You have read about the how's and the what's over HP Connect.
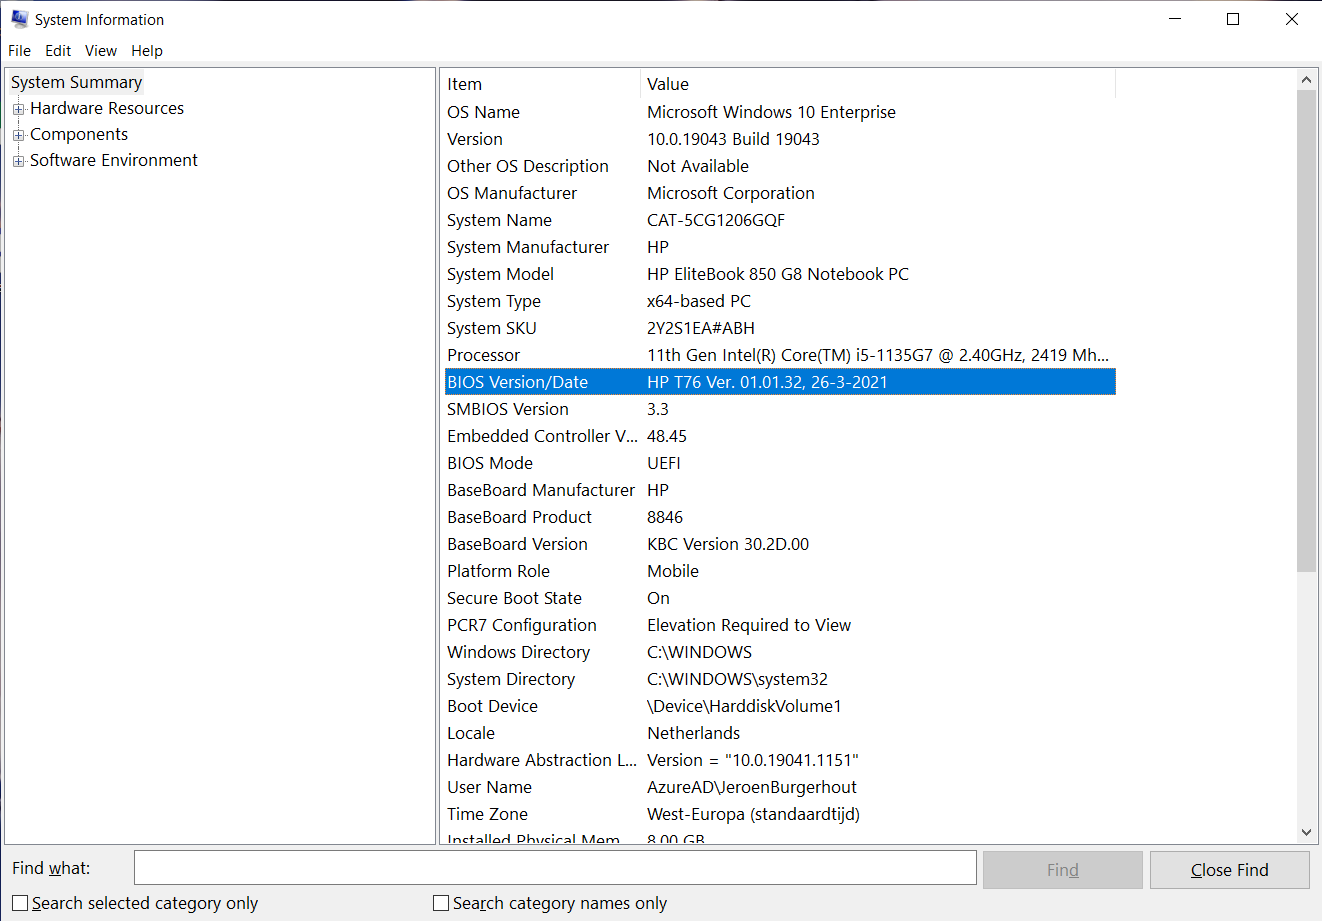
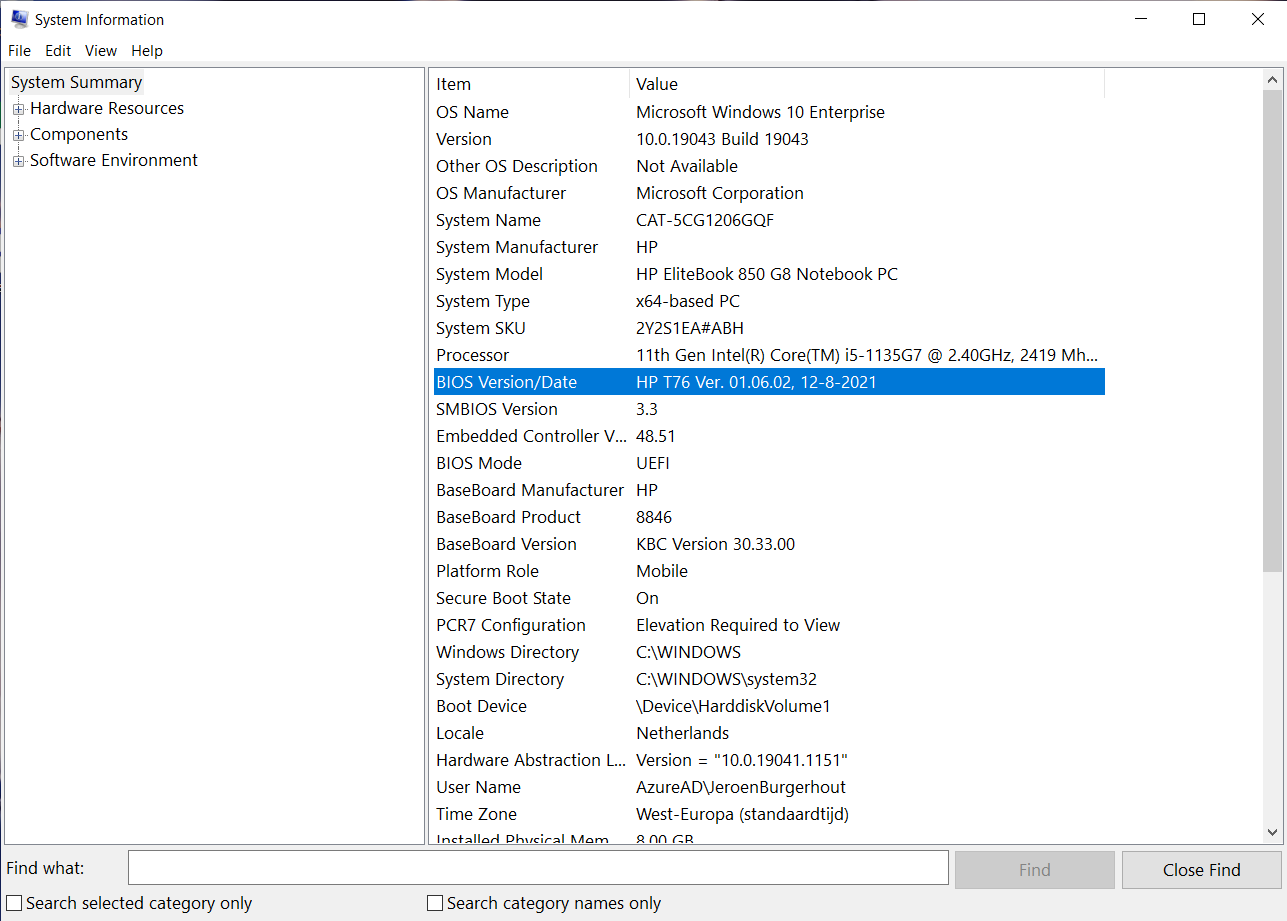
For now, I will show you how you can update the BIOS to the latest version or update to a specific BIOS version. I have one notebook from HP at home. This is a HP EliteBook 850 G8. As you can see, the BIOS of this EliteBook is not the latest version.
It's time to get started with HP Connect for Microsoft Endpoint Management.
- In the menu bar on the left, click on Policies, or click on New Policy button at the dashboard.
- In the Name field, enter the name of the policy.

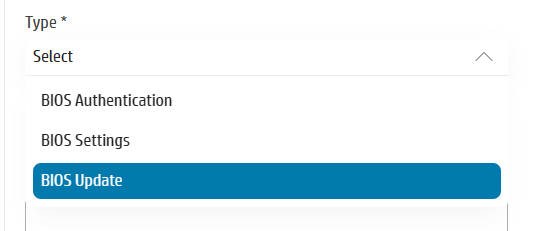
- In the Type field, choose BIOS Update.
- In the Description field, you can type in a description.
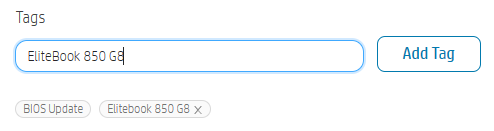
- In the Tags field, you can type different tags.
- Click on the Next button.
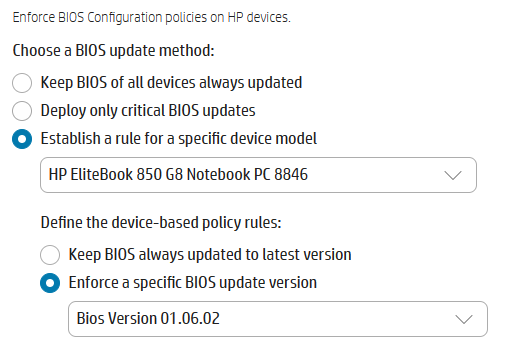
You have reached the blade where you can configure which type and version of a BIOS update you want to deploy.
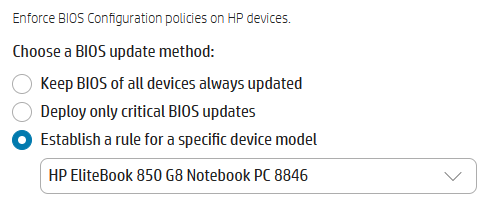
You have 3 options:
- Keep BIOS of all devices always updated
- This setting is applicable for all the HP devices in an AAD device group
- Deploy only critical BIOS updates
- This setting is applicable for all the HP devices in an AAD device group
- Establish a rule for a specific device model
- This setting is applicable to just one HP model in an AAD device group
I am going for the last one, because I only got one model and herewith, I can show you what settings HP Connect can offer to you.
- So, I click on the 3rd option, and I select my HP EliteBook 850 G8.
As you can see, another 2 options are now available.
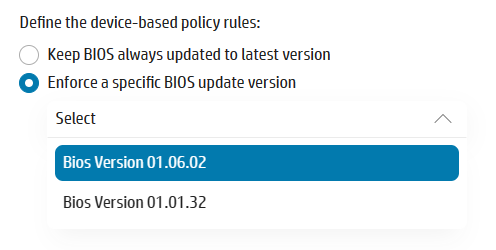
- Since my EliteBook has BIOS version 1.01.32, which you can see the one of the screenshots above, I am going to select the 1.06.02 version.
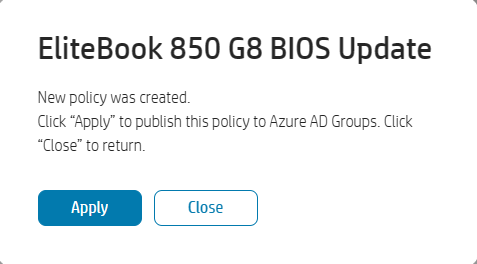
- Click on the Save button
- Click in the popup on Apply to choose the correct AAD device group or click Close to go back to the Policy List. I will click on Close.
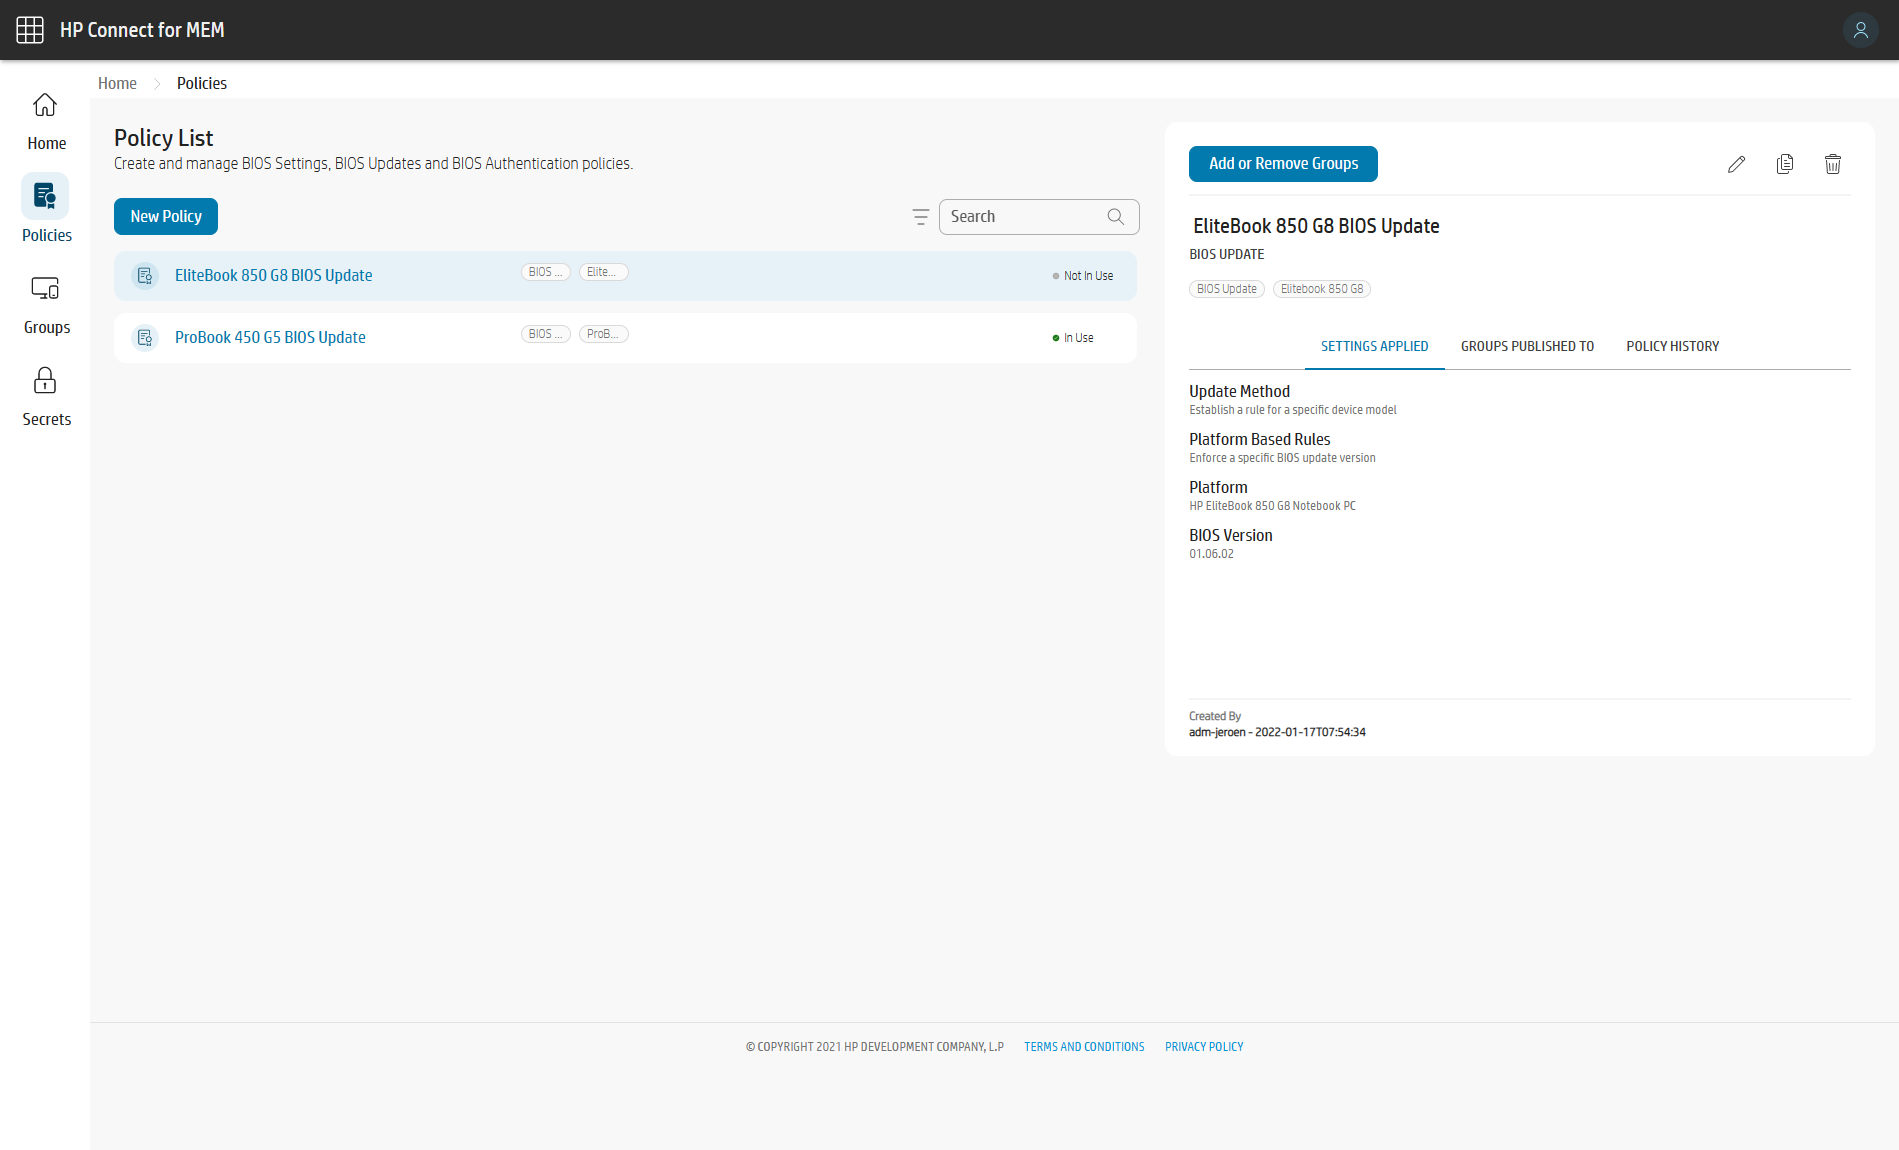
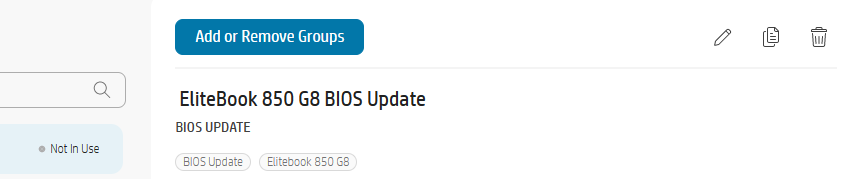
In the Policy List blade, you can see the created policy and you can see that this policy is not in use and you see the properties of this policy on the right side of the blade.
If a policy is not in use, you can edit, delete, or duplicate the policy. If a policy is assigned to an AAD device group, you can only duplicate the policy.
- Click on Add or Remove Groups button.
- Select the correct AAD device group.
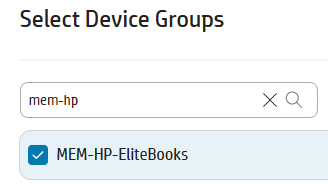
- Click on the Next button.
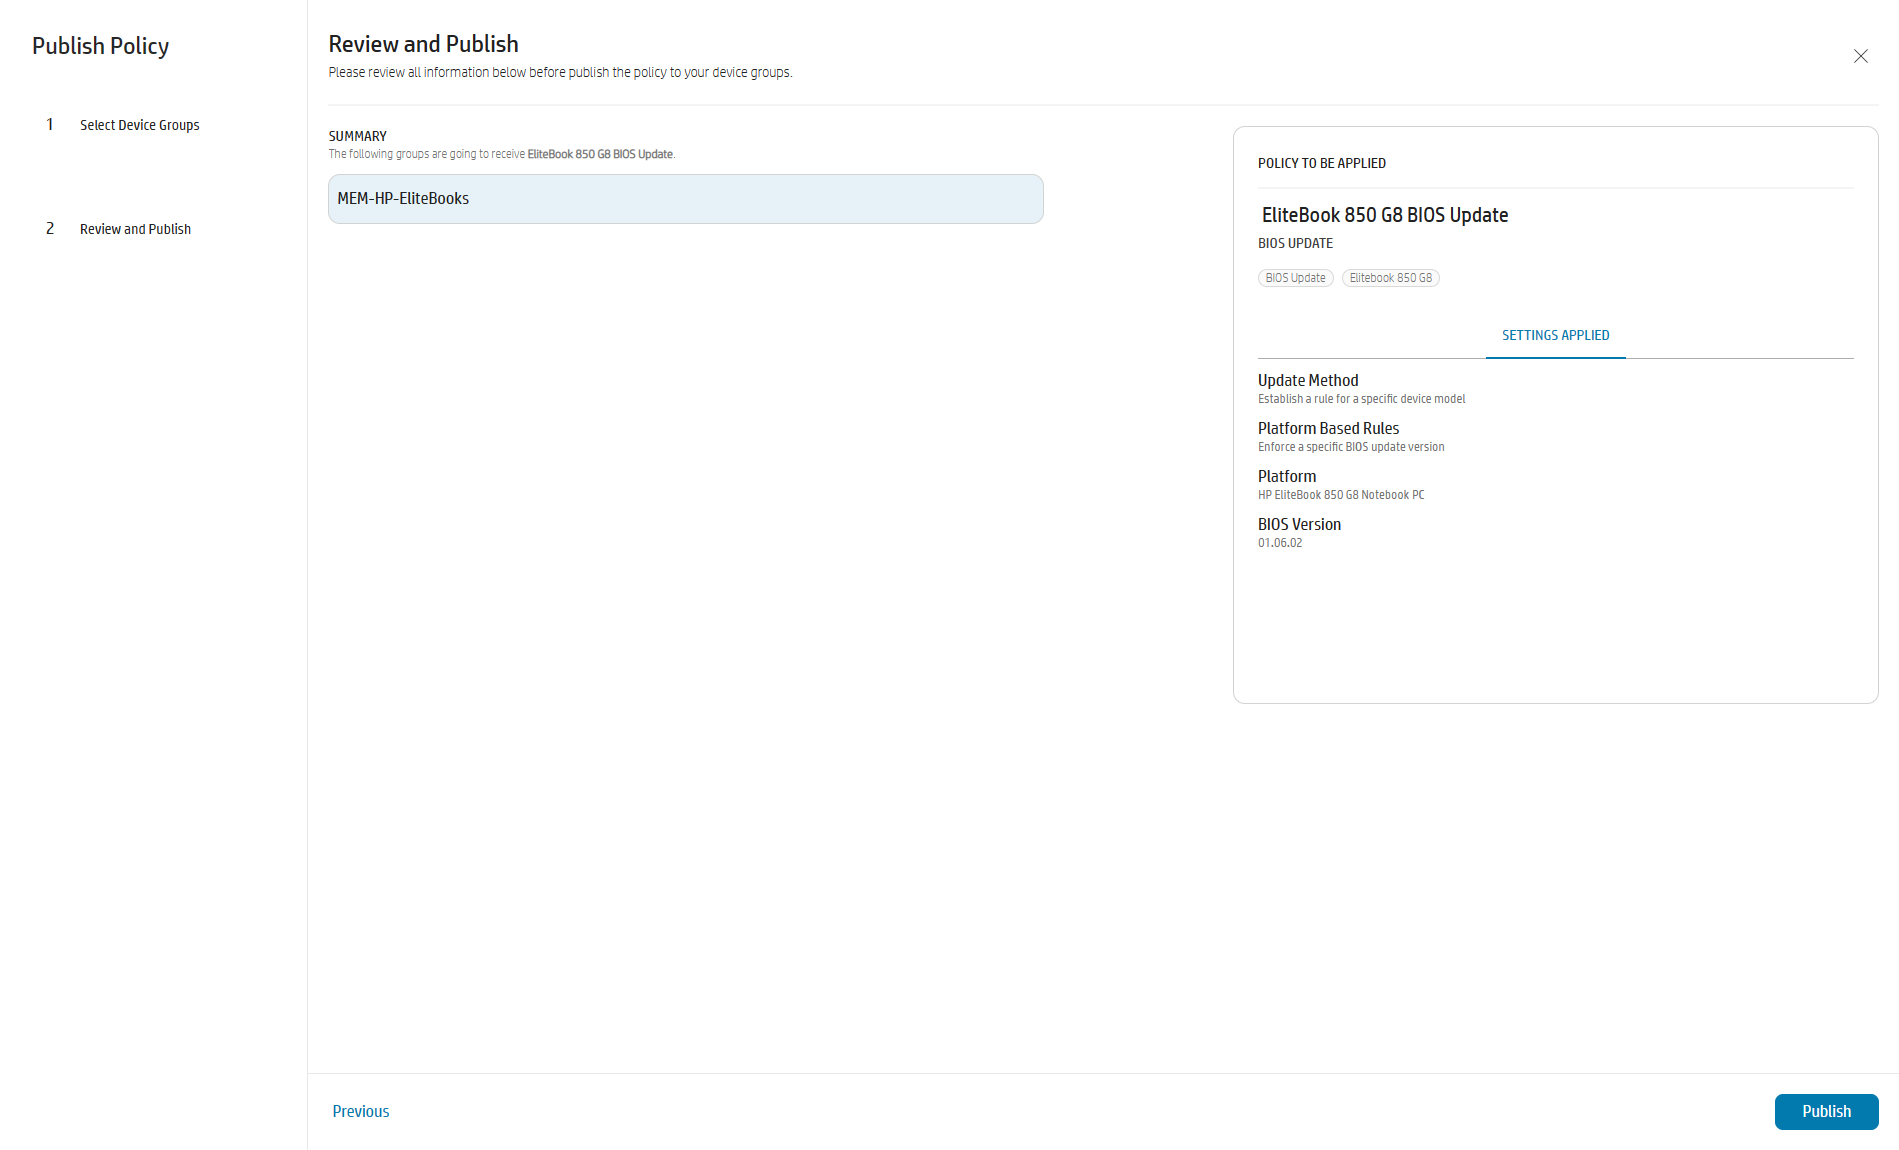
- In the Summary overview, click on the Publish button.
- In the popup, click on Apply.
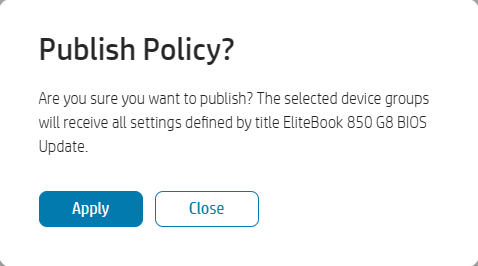

- Policy is assigned and the status has been changed from Not In Use to In Use.
Summary
We created a BIOS update to version 1.06.02 for a specific HP model, the EliteBook 850 G8 and assigned this to an AAD device group.
What's next?
If we now switch to the Intune portal, I will show you what is happening under the hood between HP Connect and Intune.
- Click on Reports
- Click on Endpoint Analytics
- Click on Proactive remediations
- Here you will see a new remediation script, called HPConnectForMEM – Name AAD device group.

You can view the remediation script and the detection script. The schedule is set to Hourly, but at the next release of HP Connect this will set to Daily. But you can change this, of course.
You also can configure more policies to one AAD device group. If you have a device group with all sorts of models and manufacturers, these detection and remediation scripts will of course only run-on HP hardware.
And now we wait for the detection and the remediation script will kick in.
Coffee time. ☕

And we are back. The EliteBook picked up the BIOS update, downloaded it at the background. When this is done, the user will see a pop-up, as shown in the following figure.
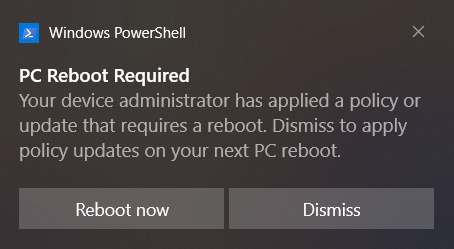
The end-user can dismiss this several times and after that the update will be forced. For now, I will click on the Reboot now button.
In the following video, you will see that my EliteBook is installing the BIOS update.
When the update is done, it will take approximately one minute when the device is rebooted and is back on the logon screen. For a confirmation if the BIOS update was applied, we can open msinfo32 to check the BIOS version
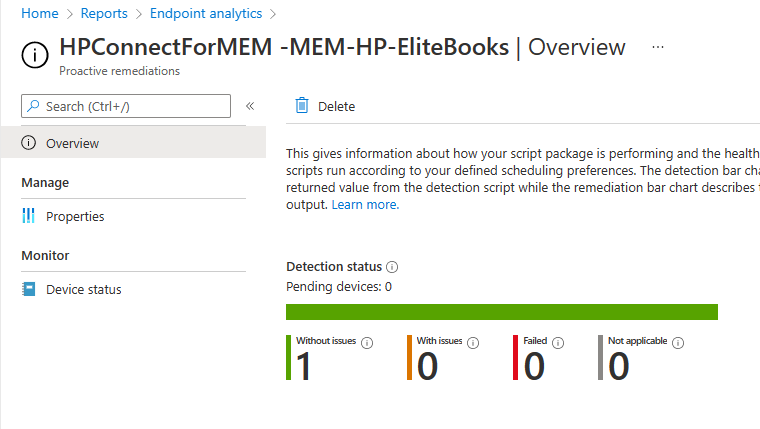
In the Intune portal, we can see that the status of the proactive remediation script has been updated as well.
Wrapping things up
That's it. I hope that this article will give you a good overview what you can do with HP Connect. I already mentioned that HP Connect now only supports BIOS updates, settings and authentication.
The procedure for BIOS settings is similair as for the BIOS update. I didn't looked into the BIOS authentication, yet.
In the future, HP Connect will support the deployments of HP drivers. So, keep an 👀 at https://admin.hp.com.